Thursday, February 24, 2011

Peruvian Roast Chicken with Garlic and Lime


It's now time to break up with Boston Market's chicken.

Roast chicken has been one of my weak spots in the culinary world. I successfully did one. I failed at my next attempt. So, I figured it was time to get off the fence and try one more time. Roast chicken for me is such a comfort food and when it doesn't work out, it just leaves a flat note in the day.

My only concern was some of the spices as I'm usually not a big fan of them. It used to be that I considered myself daring and on the edge if I used pepper. Now, I can border out as far as tossing in some sweeter milder chili powder and feel like I've conquered the villain and saved the world.

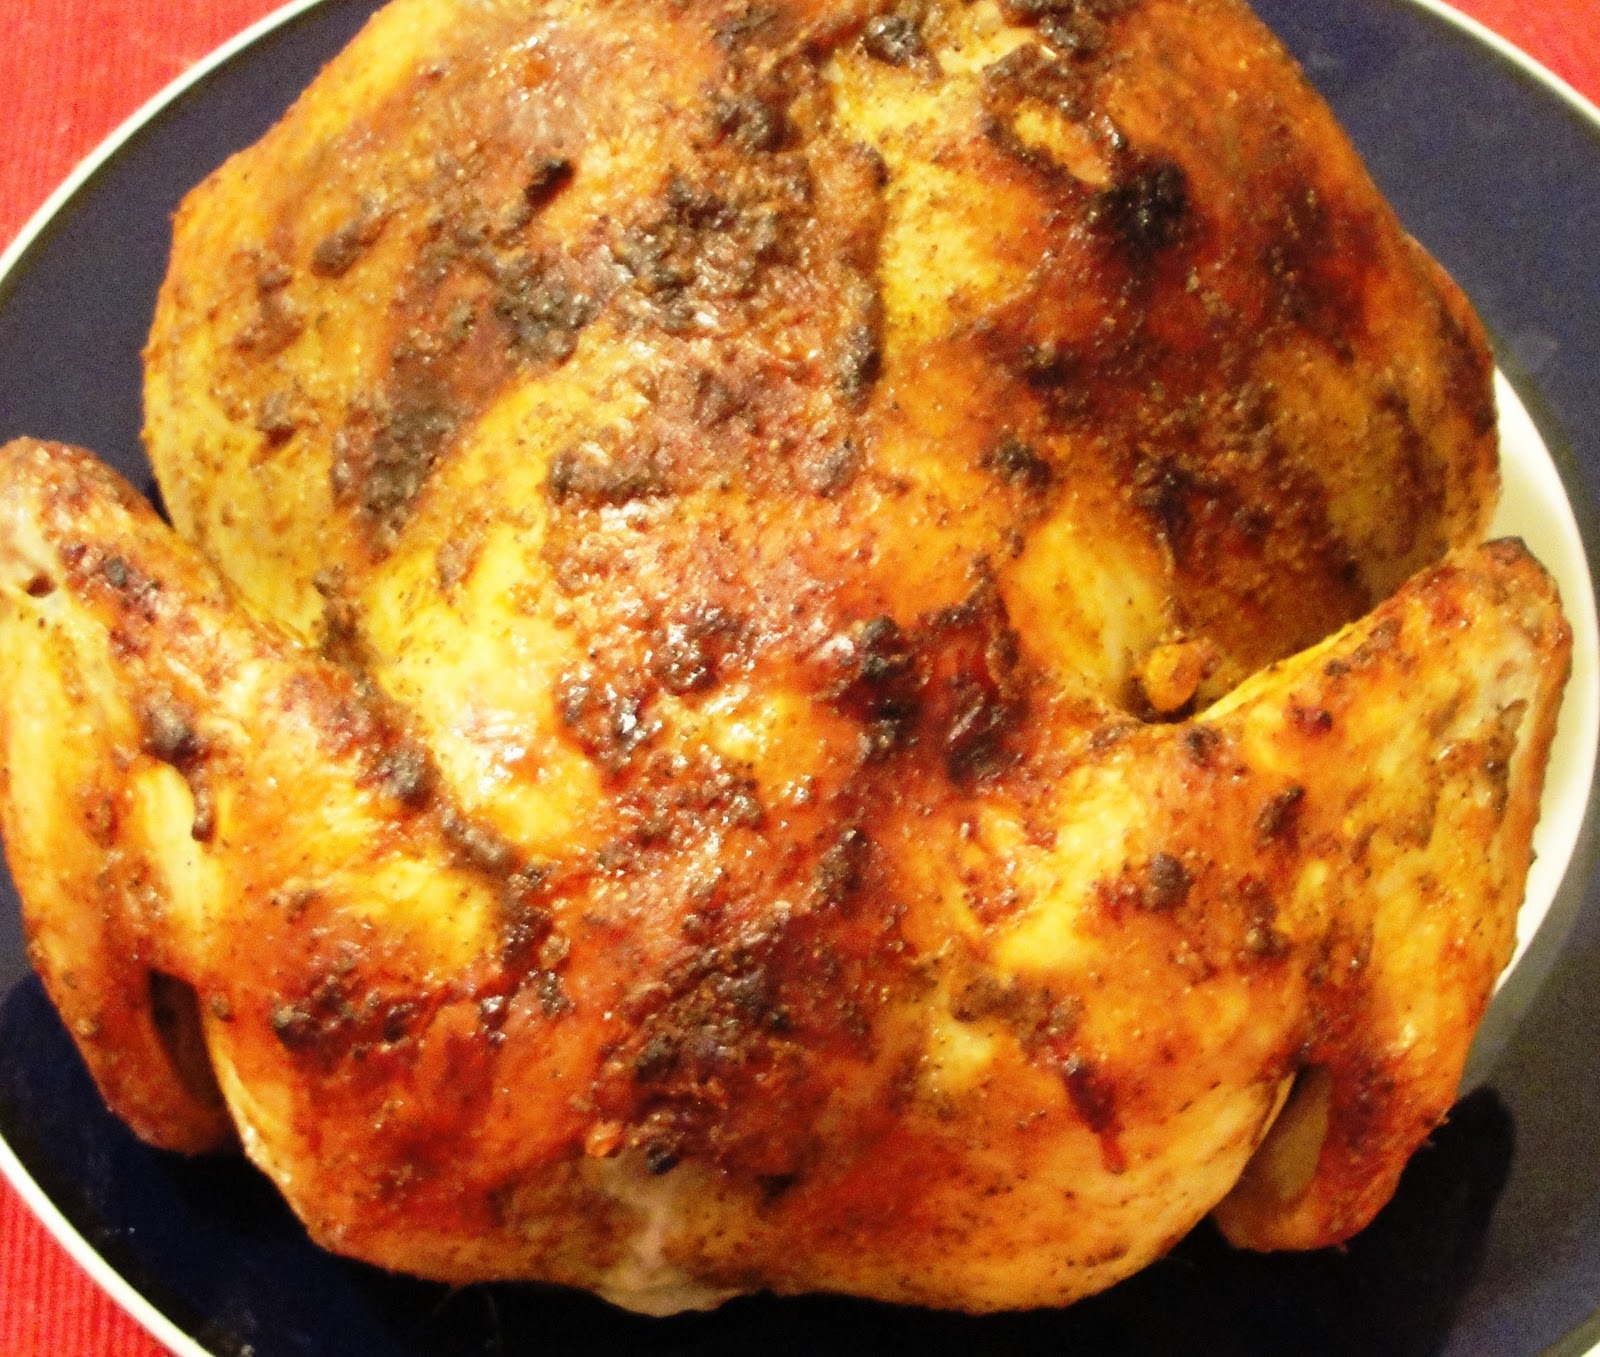
I am proud to say that having made this chicken, I can now boldly face down the rows of whole chickens at the grocery store without fear. Although I had some concerns about the spices, letting this marinate for 24 hours tempered it perfectly and the rub gave the chicken a lovely crispness to the skin. The smell alone very nearly had me salivating while I waited for it to cook.


Grade: A. Sorry Boston Market. There's just no comparison.

Peruvian Roast Chicken with Garlic & Lime
very slightly adapted from Cooks Illustrated - February/March Magazine 

3 tbsp extra virgin olive oil
1/4 cup lightly packed fresh mint leaves
2 tbsp kosher salt
 6 medium garlic cloves, peeled and roughly chopped
 1 tbsp black ground pepper
 1 tbsp ground cumin
 1 tbsp sugar
2 tsp paprika
2 tsp ground oregano
2 tsp grated zest and 1/4 cup juice (from 2 limes)
1 tsp ancho chili powder
4 pound whole chicken

Process all ingredients except chicken in blender until smooth paste forms (10-20 seconds). Using fingers or handle of wooden spoon, carefully loosen skin over thighs and breast and remove any excess fat. Rub half of paste beneath skin. Spread entire exterior surface of chicken with remaining paste. Place chicken in gallon sized zipper lock bag and marinate for 24 hours.

Roast at 400 degrees for 1 hour fifteen minutes or until done based. Rotate chicken while cooking. Carve, serve and enjoy!

Monday, February 21, 2011

Greek Chicken Salad Pitas


I have no excuses for not blogging these past two weeks. Could have cooked, didn't want to. Could have rambled, but was already doing enough of that in real life. But it's amazing how a few days of doing close to nothing can leave me relaxed and even slightly bored enough to get into the kitchen and do something productive. 

Like most of my cooking magazine purchases, this sat on my shelf unopened (apart from the browse at the store) for about 6 months until today. And once I saw this recipe, I realized that this was simple enough and very nearly healthy enough to pull it off today. This of course after I realized another recipe I had been thinking of was going to take 6-24 hours to marinate and was not going to make it as a post today. 

Super simple to pull together. I added more chicken then the recipe called for as it didn't seem quite enough and added extra red onions as well. Although the recipe was very good, it would have been even better with some sort of greek side dish to complement the flavors. 

Overall rating: A- for simplicity, B+ for flavor (maybe a little more lemon juice next time?)

Greek Chicken Salad Pita
Adapted very slightly from: Cooking Light 5 Ingredient 15 minute recipes 
serves 4 

2 cups sliced romaine lettuce
2 cups chopped roasted chicken breast 
2/3 cup seeded cucumber
1/.2 cup red onion
1/4 cup crumbled feta cheese
2 tbsp lemon juice
2 tbsp olive oil
1/4 tsp ground black pepper
1/4 tsp salt (forgot this...might explain the taste)
6 tbsp roasted red bell pepper hummus
1 6 inch whole wheat pitas, cut in half

Combine first five ingredients in large bowl. Add lemon juice, olive oil, salt and pepper: toss gently.

Spread 1 1/2 tbsp hummus inside each pita half and spoon salad mixture evenly into halves. Serve immediately.

Sunday, February 6, 2011

Cinnamon Madelines

 
I have a thing for madeleines. Not so much for eating them but just admiring how cute they look with those scalloped edges. Which is probably why I bought a special madeleine pan that has been sitting in my kitchen cupboard along with all the other pans I haven't used while the ones I do want seem to have fallen into some sort of culinary black hole. In any event, the madeleine pan finally had its official unveiling last week when I was desperate for a sweet and came across a very simple recipe on the back of the box.

At first, the cookies seem a little on the simple side. I had made some adjustments to the original recipe and whether it was the changes or even a tiny second or two of overcooking, I found them to be slightly on the dry side. In retrospect, I wish I had given them a slight dip in some rum or other type of booze to moisten them up and give a little kick. But they were good enough that I ate more than I ought to have had threw half the batter away so I wouldn't be tempted to eat more.

Overall, I'd grade these a B. But to be fair to them, I'll give the recipe one more try without the substitutions to see if that makes a difference.


Cinnamon Madeleines
from: Chicago Metallic

2/3 cup flour
1/4 tsp baking powder
1 stick (1/2 cup) butter melted and cooled
2 eggs
1/2 tsp cinnamon extract
1 cup powdered maple sugar

Preheat oven to 350 degrees. Spray pan with nonstick spray. Sift together flour and baking powder in small bowl and set aside. In an electric mixer, beat eggs and maple extract on high speed for 5 minutes. Gradually beat in sugar. Beat another 5 minutes or until thick.

Gently fold in flour mixture, then melted butter. Mix until smooth. Spoon into cups filling approximately 3/4 full. Bake approximately 8 minutes or until edges are light brown. Cool in pan 1-2 minutes. Loosen cookies with knife and then invert pan onto rack. Sprinkle with powdered sugar when cool. Makes 25 madeleines.

Wednesday, February 2, 2011

Easy Pork Tacos with Mango Salsa


Yes, it is true. I have cooked twice, in one week, and from the same cookbook I had bought during a just because I want it moment. Cue the made for tv movie with  inspirational music and a close up of me saying in a slightly tremulous voice "I ...I knew I could do it...all I had to do was try."

Okay, so being snowed in over here in Chicago did give me some extra time on my hands to get this done as well.

I don't think I've really tried the tropical fruit salsas (at least not as far as I remember) but I'm definitely glad I got out of my same old same old food ruts that I slip into from time to time and tried this. I did make a few substitutions as I am a wimp when it comes to very spicy foods and there was no way I was going to go down that canned chipolte chile road they suggested so I substituted some generous dashes of chili powder instead. Also, I chose to be a little lazy and went with dried cilanto (which I rehydrated) versus fresh.

Total revelation: I really liked this. The combo of the very slight spicy hint from the pork mixture combined with the mango salsa was great. The only thing I did not like was the corn tortilla as it bought a blandness to the dish so I would try something different the next time I make this.

Overall grade: A-. Yum.

Easy Pork Tacos with Mango Salsa
Very slightly adapted from: The Best Simple Recipes
Serves 4

1 1/2 cups chopped mango
1 small red onion chopped fine
1/2 cup chopped fresh cilantro
2 tbsp lime juice
Salt and Pepper
2 tsp vegetable oil
2 tsp canned chipotle chiles (or chili powder for the less brave)
1 1/2 pounds ground pork
1/2 cup shredded monterey jack cheese
12 6 inch corn tortillas, warmed

Combine mango, half of chopped onion, 1/4 cup cilantro, 1 tbsp lime juice, 1/4 tsp salt and 1/4 tsp pepper in bowl. 

Heat oil in large skillet over medium high heat until it begins to smoke. Add onion, chipotle and salt and cook until onion in softened, approximately 3 minutes. Stir in pork and cook until no longer pink.

Remove pan from heat and add remaining cilantro, lime juice and cheese. Season with salt and pepper. Serve with tortillas and mango salsa.